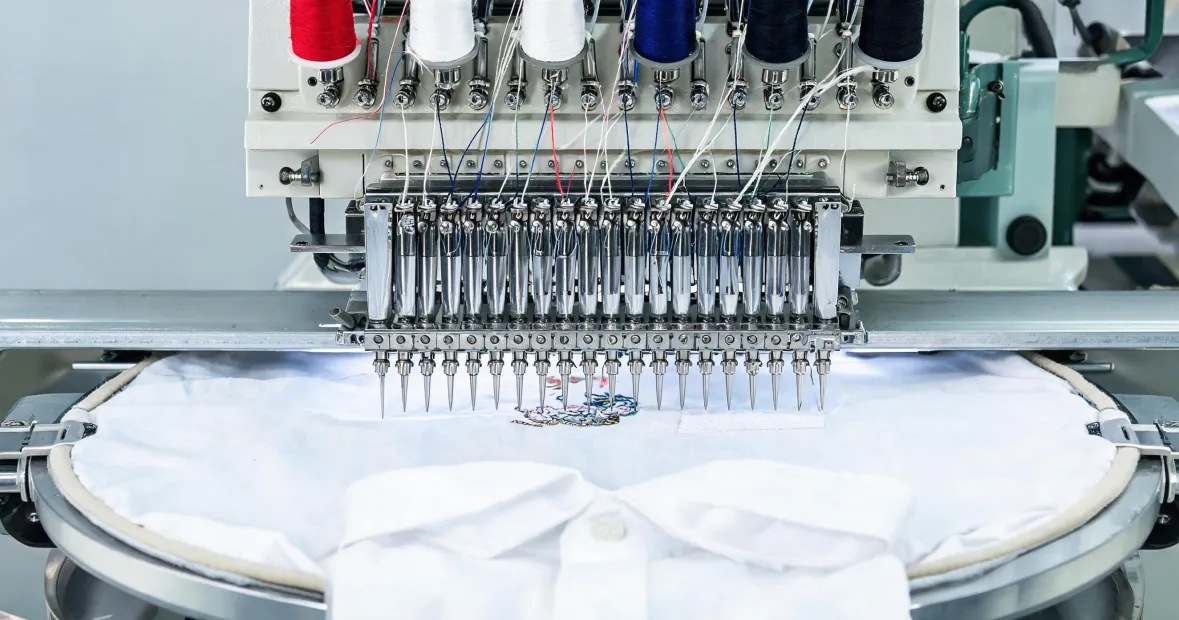
The Bottom Line: Your Thread Tension Problem Is Almost Never the Machine
If you're chasing thread breaks, looped stitches, or that fuzzy birdnesting on the underside of your caps, here's the uncomfortable answer I wish someone had given me seven years ago: your machine's tension settings are a symptom, not the cause. I've run Tajima SAI units, a Juki 8-needle machine, and enough multi-head setups to know that 9 out of 10 tension disasters trace back to three things — thread path contamination, bobbin case calibration drift, and needle-to-fabric mismatch. Not the tension dials. Not the machine brand. Not the price tag.
That conclusion cost me $3,850 in wasted caps and a week of production delays before I got it. Let me save you the tuition.
Why You Should Trust This Analysis (Or at Least Learn From My Mistakes)
I've been handling commercial embroidery production orders for going on eight years now. In that time, I've personally made — and documented — at least 14 significant mistakes that cost my team somewhere north of $11,000 in wasted materials, redo labor, and missed deadlines. The thread tension fiasco of February 2023 was the second-most expensive one.
Here's what happened: we had a 420-piece cap order for a regional construction company. Simple left-chest logo, 8,000 stitches, nothing fancy. I'd just switched our Tajima SAI to a new cone of 40-weight polyester and didn't re-check the bobbin case tension. Ran 180 caps before the QC person caught it. The backside looked like my six-year-old had been doodling with a hot glue gun. Every single cap had loose, looping stitches on the inside. We ate the cost — $3,850 in blank caps, thread, and rush shipping to replace them — plus a three-day delay that nearly lost the client.
That's when I built our team's pre-flight tension checklist. We've caught 47 potential errors with it in the past 18 months. Not all tension-related, but enough to justify the laminated card taped to every machine.
The Real Tension Variables Nobody Talks About
1. The 8-Needle Myth (And Why Tajima SAI and Juki Users Get This Wrong)
Most buyers searching for a "Tajima SAI Juki 8 needle embroidery machine" comparison focus on needle count, max speed, and price. They completely miss the one spec that actually determines whether your tension stays consistent across all eight needles: the independent thread path design.
On older 8-needle machines (and some budget models still sold today), all eight threads share a common tensioning plate. That means every adjustment affects every needle. On the Tajima SAI, each needle has its own tension disc and take-up spring. The Juki 8-needle I ran for two years had a hybrid system — better than shared, not fully independent. The practical difference: on the SAI, I can run 40-weight poly on needle 1, 60-weight rayon on needle 2, and metallic on needle 3 with minimal crossover interference. On the Juki, switching to metallic on a single needle meant re-tuning the whole head if I wanted clean stitches.
Here's the thing nobody tells you when you're comparing Tajima SAI price against a Juki or Barudan quote: the machine cost difference often gets eaten by the labor cost of tension adjustments. If you're running mixed thread weights daily, independent tension paths pay for themselves in about 14 months. If you're running the same 40-weight poly on every job, save the money and buy the cheaper machine.
2. Beads Embroidery Machines: The Tension Problem That Breaks the Rules
If you're running a beads embroidery machine — or the bead attachment on a standard Tajima — throw the standard tension guide out the window. Beads don't behave like thread. The tension needed to secure a bead without cracking it or letting it flop is roughly 30-40% looser than what you'd run for flat embroidery on the same fabric.
I learned this the hard way on a 60-piece denim jacket order in September 2022. Set the tension where I'd normally run denim (top tension at 4.2 on the SAI's dial), and the beads kept snapping. Bumped it down to 2.8, and they sat perfectly. The catch: the bobbin tension now needed to be slightly tighter to compensate for the loose top thread. Two variables moving in opposite directions. That's the kind of thing no manual explains clearly.
Bottom line for beads: start with your top tension 30% looser than your flatwork baseline, then adjust bobbin tension in small increments (quarter-turns, not half-turns) until the bead sits perpendicular to the fabric surface. If it's leaning, the bobbin is too loose. If it's dimpled into the fabric, the bobbin is too tight.
3. The Bobbin Case Is Where Tension Actually Lives
Look, I'm not saying your top tension dials are irrelevant. I'm saying they're the fine adjustment. The coarse adjustment — the one that causes 90% of catastrophic tension failures — is the bobbin case tension spring.
Most operators set their bobbin case once when the machine is new and never touch it again. That's a mistake. The spring tension drifts with heat, lint accumulation, and the physical wear of the case itself. A bobbin case that was perfect in January can be measurably looser by June.
Industry standard for bobbin case tension: the bobbin should hold its own weight on the thread when you dangle it, plus a slight resistance when you pull. If it free-falls, it's too loose. If you need to yank it, it's too tight. That's a ballpark test, not a precision measurement, but it catches the worst drift.
For precision, use a tension gauge (the handheld spring-scale type). Reference values from thread manufacturers: Madeira recommends 18-22 grams for 40-weight polyester in a standard bobbin case. Isacord runs 20-25 grams for the same weight. These numbers are starting points, not gospel — fabric and backing change the equation — but they're better than guessing.
The Tension Checklist That Actually Works
Here's the sequence we run before every production batch. It takes about four minutes and has saved us more than $6,000 in redo costs since I implemented it in Q1 2024.
- Thread path inspection. Run a pipe cleaner through every guide and tension disc. Lint and dried lubricant are the silent killers. We find debris on the SAI's path about once every three weeks — always on the needle we use most.
- Bobbin case weight test. Dangle test plus a quick gauge check. If the case is off by more than 3 grams from the last known good setting, re-calibrate.
- Needle check. New needle for every 8 hours of runtime, or immediately after any thread break. A bent needle can mimic a tension problem perfectly. Don't chase the dial when the needle is the culprit.
- Scrap test stitch. Run the actual design — or at least the densest section — on scrap fabric with the actual backing and topping you'll use. Adjust from there, not from theoretical settings.
Here's the thing most guides miss: thread tension is fabric-specific, not machine-specific. A tension setting that produces perfect stitches on a flat cotton tee will look like garbage on a structured cap or a pique polo. The machine doesn't know what you're sewing. You have to tell it through the tension settings.
What This Guide Doesn't Cover (The Honest Limitations)
Three caveats worth flagging before you run off and re-tension everything.
First: if you're running a 60-weight thread on a machine designed for 40-weight, you're fighting a losing battle. No tension adjustment can fully compensate for a thread that's too thin for the machine's minimum tension range. Match thread weight to machine spec.
Second: environmental humidity matters more than most people admit. In a dry shop (under 30% RH), thread gets brittle and snaps regardless of tension. In a humid shop (over 60% RH), thread swells and drags. We run a cheap hygrometer next to the machine. If it's outside 40-55% RH, we don't start a production run without accounting for it.
Third: I have opinions about the Tajima SAI versus Juki 8-needle tension systems, but I've only run four machines of each brand over eight years. That's not a statistically meaningful sample. If your experience differs, trust your data over my anecdotes.
One thing I'm confident about: the machine embroidery news cycle loves to hype new tension control technology — auto-tensioning systems, smart sensors, AI-assisted adjustments. Some of it works. Most of it is a solution looking for a problem that a four-minute manual check already solves. The fundamentals haven't changed since I started: clean thread path, calibrated bobbin, correct needle, test stitch. Everything else is marketing.

Leave a reply