-
Who this checklist is for
-
Step 1: Match the Tajima configuration to your real order mix
-
Step 2: Get a written Tajima embroidery machine cost quote, not a list price
-
Step 3: Compare throughput against home and entry-level machines
-
Step 4: Audit maintenance and the lubricant sewing machine routine
-
Step 5: Price spare parts and service response
-
Step 6: Build an emergency capacity buffer
-
Step 7: Run a 12-month total cost of ownership
-
Step 8: Negotiate training, safety, and support
-
Common mistakes to avoid
Who this checklist is for
If you are pricing a Tajima because a customer just moved a deadline, or because your current setup cannot handle a rush order without overtime, this is for you. I am not writing a brochure. I coordinate emergency production for a garment decoration company. In my role, I have handled 200+ rush jobs over 9 years, including same-day turnarounds for promotional and uniform clients. When I triage a rush order, I care about three things: hours left, feasibility, and worst-case risk.
This checklist has 8 steps. It is built for buyers who need to understand Tajima embroidery machine cost, not just the sticker price. It also applies if you are moving up from a home machine, maybe a Bernina Artista 200 sewing and embroidery machine or a Bridgerton sewing machine, and you are realizing hobby equipment has different economics.
Step 1: Match the Tajima configuration to your real order mix
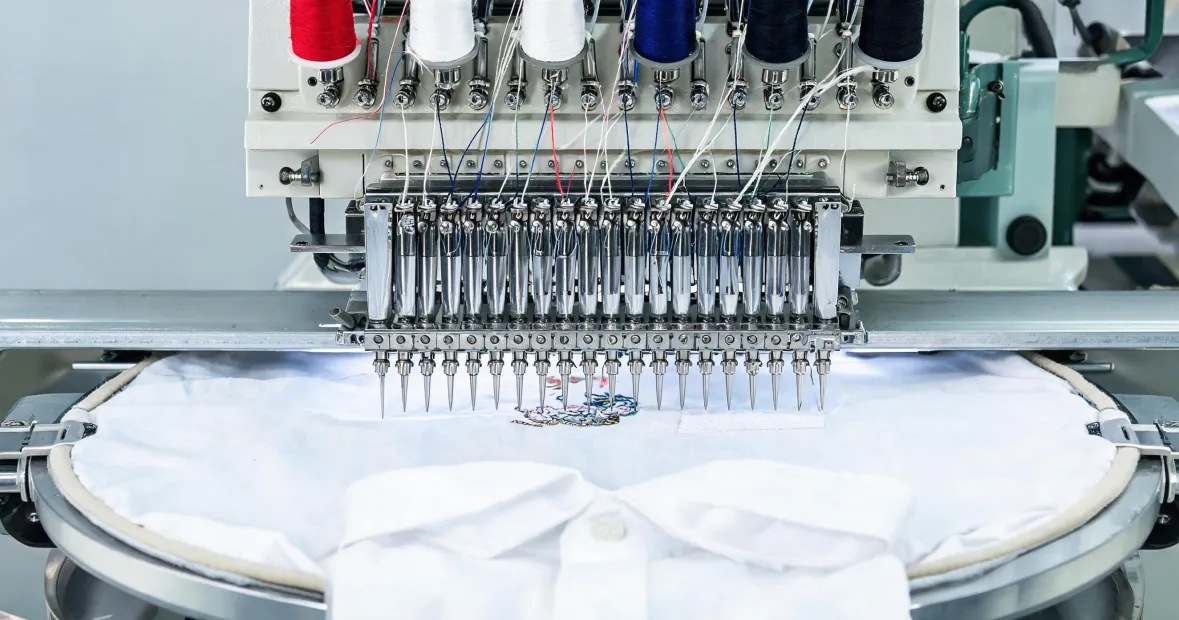
Do not start with price. Start with the jobs you actually run. Tajima makes single-head and multi-head machines, flatbed, hat, chenille, and combination setups. A 1-head machine can be right for samples and small runs. A 6-head or 8-head machine changes your throughput, but it also changes floor space, power, and operator requirements.
If most of your emergency work is 12 to 48 piece runs, one head with fast trims may beat a multi-head that sits idle. If you run team uniforms or cap orders, hat embroidery capability is not optional. This step decides whether a quote is even comparable.
Step 2: Get a written Tajima embroidery machine cost quote, not a list price
The price Tajima embroidery machine buyers see online is often a starting point, not the installed cost. (note to self: always ask what is excluded.) A real quote should include:
- Machine configuration and head count
- Shipping, crating, rigging, and installation
- Pulse software and any digitizing modules
- Cooling system, accessories, and starter spare parts
- On-site training and safety training
- Taxes, duties, and electrical hookup requirements
As of January 2025, publicly listed dealer quotes I have reviewed put new single-head commercial Tajima machines in the $12,000 to $25,000 ballpark before installation. Multi-head 6- to 15-needle setups often run $25,000 to $80,000+, depending on heads, cap devices, chenille, trims, and software. Source: publicly listed dealer quote pages, January 2025. That is a range, not a quote. Verify current numbers with a dealer.
Per FTC advertising guidelines (ftc.gov), price claims must be truthful, not misleading, and substantiated with evidence.
That matters because a low advertised price can hide a $3,000 install or a $1,500 software package. Those extras are not deal-breakers, but they are budget-breakers if you miss them.
Step 3: Compare throughput against home and entry-level machines
When I compared our old single-head setup and a multi-head Tajima side by side, I finally understood why throughput is not just stitches per minute. It is changeovers, trims, thread breaks, hoop handling, and operator attention. A home machine can sample beautifully. But if you are quoting production, the labor math changes fast.
A Bernina Artista 200 sewing and embroidery machine can be useful for proofing designs or one-off gifts. A Bridgerton sewing machine might be a fun retail purchase. Neither is built for eight hours of commercial cap embroidery. So if your rush orders are growing, do not scale a hobby workflow. Price the commercial machine against the overtime and missed deadlines you are already paying for.
In March 2024, a client called 36 hours before a trade show needing 180 embroidered hats. Normal turnaround was five days. We found a partner with a 6-head Tajima, paid $1,100 extra in rush fees on top of the $4,800 base cost, and delivered with two hours to spare. The client's alternative was showing up with blank hats. That job paid for itself, but it also showed me where our bottleneck was.
Step 4: Audit maintenance and the lubricant sewing machine routine
This is the step most buyers skip. The machine price is obvious. The maintenance plan is not. For a lubricant sewing machine routine, use only the specified lubricant and sewing machine oil. Do not grab generic oil because a search result said it works. Wrong lubricant can gum up the hook area, attract lint, and create heat issues. (ugh, again.)
Build a log for:
- Daily oiling points and lubricant type
- Weekly filter and cooling system checks
- Monthly tension, trim, and belt inspection
- Quarterly professional service intervals
I am not a certified Tajima technician, so I cannot speak to board-level repairs or firmware diagnostics. What I can tell you from a production coordination perspective is that maintenance delays show up as missed deadlines, not just repair bills. A machine that goes down during a rush order is a five-alarm problem.
Step 5: Price spare parts and service response
Ask the dealer what parts fail most often and what they stock locally. Needles, rotary hooks, needle plates, tension discs, trim knives, and cap frames are common. If every part is a special order, your emergency capacity is fiction.
Service response is also a line item. Get the response window in writing. Ask whether remote support is included for Pulse software. Ask if there is a loaner program or priority service tier. I have tested six different rush delivery and service options over the years; the cheapest ones often had the weakest communication. The surprise was not the repair cost. It was how much downtime came from waiting for a callback.
Step 6: Build an emergency capacity buffer
No machine guarantees zero downtime. Anyone who promises that is selling you a red flag. Instead, plan for the worst. Keep a backup supplier for overflow. Train at least two operators. Stock critical spares. Keep a 48-hour buffer on promised dates when possible.
Our company lost a $22,000 contract in 2022 because we tried to save $600 by using standard turnaround instead of rush shipping on blank goods. The blanks arrived late, the embroidery schedule collapsed, and the client went elsewhere. That is when we implemented our 48-hour buffer policy. It is not glamorous, but it is cheaper than losing the order.
If you are buying a Tajima for emergency work, factor in the cost of idle capacity. A machine that is only 70% booked still has to be maintained, insured, and staffed. But when a client needs 300 pieces in two days, that capacity is a no-brainer.
Step 7: Run a 12-month total cost of ownership
Total cost of ownership (i.e., not just the unit price but all associated costs) includes:
- Purchase or lease payment
- Installation and electrical work
- Software subscriptions and upgrades
- Thread, backing, needles, and lubricant
- Maintenance and spare parts
- Operator training and turnover
- Floor space and power
- Financing cost or opportunity cost
Honestly, I am not sure why dealer quotes vary so widely for similar configurations. My best guess is it comes down to territory, training packages, and how much software is bundled. That is why you need three quotes, not one. Compare the same scope.
Step 8: Negotiate training, safety, and support
Tajima's advantage is not just the iron. It is the support ecosystem. Comprehensive safety training and operator training reduce the chance that a rush order becomes an injury or a burned-out machine. Ask for a training schedule, not a vague promise. Ask for safety videos, manuals, and a maintenance checklist. Ask who answers the phone at 6 p.m. on a Friday.
When I compared two quotes side by side, same head count, different training and software bundles, I finally understood why the higher quote was not automatically worse. The cheap quote assumed we already knew the workflow. We did not. The training paid for itself in the first month.
Common mistakes to avoid
- Comparing only the machine price and ignoring installation, software, and training.
- Assuming a home machine like a Bernina Artista 200 sewing and embroidery machine can replace a commercial Tajima.
- Using the wrong lubricant because it was cheap or easy to find.
- Buying used without service records, hour meters, or a demo under load.
- Forgetting power, air, and floor space requirements.
- Promising same-day turnaround before you have tested your real throughput.
- Not asking about parts availability and service response time.
Bottom line: Tajima embroidery machine cost is a production decision, not a shopping decision. If you need speed, the cheapest sticker price is often the most expensive path. Get the full quote, run the maintenance math, and build a buffer. Then again, if your work is all samples and one-offs, a smaller setup may still be the smarter call.

Leave a reply