-
The 7-Step Inspection Checklist
-
Step 1: Read the hour meter and the maintenance log as one thing.
-
Step 2: Run a sample pattern on every head.
-
Step 3: Check the zig zag stitch sewing machine settings.
-
Step 4: Inspect the rotary hook and needle plate.
-
Step 5: Verify the software and the brains of the machine.
-
Step 6: Let the machine run hot and check the cooling system.
-
Step 7: Sew a multi-color sample and inspect the back.
-
Step 1: Read the hour meter and the maintenance log as one thing.
-
Common Mistakes I Keep Seeing
The 7-Step Inspection Checklist
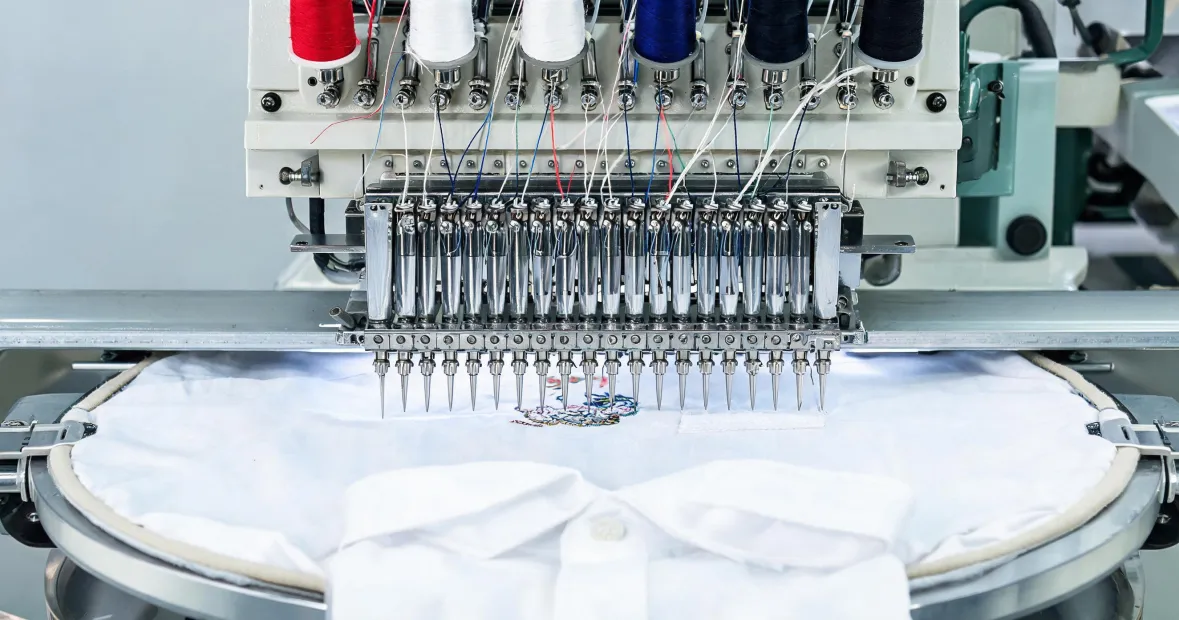
If you're scanning resale sites for a used Tajima embroidery machine for sale, you've probably noticed the price swing. A 4-head model can list around $22,000, a 20-head Tajima can go north of $80,000. But the asking price is only the beginning. I've been reviewing commercial embroidery machines for over four years, and I've watched buyers lose money by skipping the same checks over and over.
This checklist is for anyone about to inspect a specific used Tajima in person. It's practical, not theoretical. Seven steps, roughly 60 minutes. If you find problems, you can either lower the price or walk away. But you have to do the inspection before you negotiate.
Step 1: Read the hour meter and the maintenance log as one thing.
Basically, the hour meter tells you one thing; the maintenance log tells you the rest. The hour meter is often in the control box or the main panel. Ask the seller to show it to you, but don't just note the number. Tajima's official maintenance recommendations call for regular lubrication and periodic inspections (tajima.com, 2025). If the log is missing, the oil smells burnt, or the hour meter reading doesn't match the general wear on the head covers, that's a red flag. I once approved a used single-head with 2,000 hours on the meter but no service log. The first month, I had to replace the rotary hook and the needle bar bushing. Around $600 in parts that should have been visible during a quick check.
Step 2: Run a sample pattern on every head.
On a multi-head machine, a common trick is to run a small test on the first head and assume the rest are fine. Don't. Load a design that includes satin columns and small lettering, and run it at your production speed. Count thread breaks per head. If head #7 breaks more than twice in a 5-minute run while the others don't, that's not luck—it's a mechanical or alignment issue. When you calculate the cost of repairs against a used Tajima embroidery machine 20 head price, a single faulty head can wipe out your savings. And if the seller is reluctant to run all heads, that tells you something.
Step 3: Check the zig zag stitch sewing machine settings.
This is, honestly, the step most buyers skip. They're focused on embroidery, but the same machine is often used for decorative stitching, trimming, or edge finishing. On a Tajima, you'll find zig-zag width and length controls. Test them: set the width to 1 mm and sew a straight seam, then set it to 5 mm and sew another. Look for a consistent bite, even tension, and no skipped stitches. If the width adjustment feels sloppy, or if the needle hits the same spot in the needle plate, you may have a worn feed dog or a misadjusted needle bar. A home machine with these issues is annoying; a commercial Tajima with them can cost you production hours. This is also where you need to shift your mindset if you're coming from a consumer machine like the ones described at www.husqvarnaviking.com embroidery machine pages. Their zig-zag settings are for occasional use, not full shifts.
Step 4: Inspect the rotary hook and needle plate.
Take off the needle plate and look at the rotary hook. You're checking for nicks, corrosion, and burrs. Run your finger along the hook race—carefully, since it's sharp. Also check the needle plate for scratches around the needle hole; deep burrs can shred thread. If the hook is worn, replacement costs between $50 and $150 per head. For a 20-head machine, that's up to $3,000 if every hook needs replacing. That's not a reason to walk away, but it's a strong negotiating point. In a Q4 2024 inspection, I found two of six heads with worn hooks. The seller initially didn't want to budge. When I showed them the hook photos and the current price of OEM parts, they took $9,000 off.
Step 5: Verify the software and the brains of the machine.
Most Tajima machines use Pulse software for design transfer. Ask about the version, which computer it's installed on, and how designs are loaded. A machine with a floppy drive and an old Pulse version might not read modern embroidery files without time-consuming conversion. Check if the seller includes a cable, USB card reader, or network connection. If not, budget $200 to $800 for a compatible interface. Also test the control panel buttons. I've seen panels with dead keys that make pattern selection a nightmare. Both of these are fixable, but they affect the usability and the effective used Tajima machine price more than people expect.
Step 6: Let the machine run hot and check the cooling system.
Many industrial Tajima machines have cooling fans or, on high-speed models, liquid cooling for the main drive. I didn't always test this. That was a mistake. One inspection we skipped the cooling test—the machine looked perfect on paper. During the first production run in July, it shut down after 45 minutes on an 85-degree day. The fan motor was dead, and the main driver ran so hot it shortened its own life. The repair bill: $2,200. This is exactly the kind of 'preventive vs. corrective' lesson that's painful to learn. So today I run the machine at 750–850 rpm for 10 minutes, feel the airflow around the head, and listen for abnormal bearing noise.
While you're at it, ask about chenille machine embroidery attachments if that's part of your business. Tajima makes chain-stitch and chenille heads that attach to specific frames. If the seller says this machine can do chenille, ask them to prove it with a sample. Retrofitting a chenille head later costs thousands, so it has to be present in the sale.
Step 7: Sew a multi-color sample and inspect the back.
Use a piece of the fabric you actually intend to run—knit, denim, or fleece. Program a small design with three color stops. After the test, turn the fabric over. Look at the bobbin threads: they should be a neat row of stitches without loops or tight tension pulling the top thread. Look at the underside of satin columns to make sure the stitch isn't loose enough to show the background fabric. This is the single best indicator of tension health. A machine that sews beautifully on one-layer cotton but poorly on thick fleece will fail you in production. Don't settle for a blank test of the included sample.
Common Mistakes I Keep Seeing
- Trusting the 'low hours' claim. Hours can be reset, and the hour meter only measures run time, not abuse. Look for signs like dark oil color, worn needle plates, or paint chips that don't match the hour count.
- Comparing only the sticker price. When you're looking at a used Tajima embroidery machine 20 head price, remember it may range from $30,000 to $80,000 depending on year, hours, and included attachments, based on listings from major resale platforms in late 2024. Verify current prices—this changes every quarter.
- Skipping the repair fund. Even a clean used machine will need $2,000-$5,000 in the first year for belts, tensioners, and routine wear. Set that aside. If you don't touch it, it's a bonus.
I didn't always follow this checklist. Ignoring my own rule once—skipping a full hook inspection—cost me an $800 replacement and two weeks of downtime. The lesson stuck. Five minutes of verification beats five days of correction. If you're ready to buy a used Tajima, take these steps with you. You're not looking for perfection; you're looking for problems you can either fix or negotiate on. That's how you turn a good price into a profitable machine.

Leave a reply