-
Who This Checklist Is For
-
Step 1: Verify the Tajima Logo File (Don't Trust the Email)
-
Step 2: Confirm Your Machine Can Handle the Job
-
Step 3: Cross-Check Your Thread and Fabric Compatibility
-
Step 4: Price the Order Honestly (Including the Hidden Fees)
-
Step 5: Build in a Hard Deadline Buffer (The 24-Hour Rule)
- Common Mistakes to Avoid
-
Final Thoughts
Who This Checklist Is For
If you're a production manager or shop owner staring at a tight deadline—maybe a client just added 500 hats to an order due in 72 hours, or you're about to sign off on a 12-head Tajima embroidery machine purchase and need to make sure the specs match your upcoming workload—this is for you.
I'm a production coordinator at a mid-sized garment manufacturer. I've handled 200+ rush orders in four years, including same-day turnarounds for event apparel clients. In March 2024, I had to deliver 1,200 embroidered polo shirts in under 36 hours for a corporate launch. Missed deadline? A $50,000 penalty clause.
Here's the 5-step process I use every single time to make sure the logo file, the machine, and the operator are aligned before the clock starts ticking. It's saved me more than once.
Step 1: Verify the Tajima Logo File (Don't Trust the Email)
Most production nightmares start with a logo that looks fine on screen but blows up on fabric. Everything I'd read about logo prep said to check format—and that's true—but the real issue isn't format. It's the file itself.
When a client sends you their tajima logo or any vector file for embroidery, don't just check if it's a .DST or .PES file. Check how old it is. I've had clients send a logo from 2019 that had a different tagline. We stitched 200 polos before anyone noticed.
Your actual checklist:
- Open the file in your digitizing software (Wilcom, Pulse, etc.)
- Check the stitch count—anything over 15,000 stitches for a chest logo will take too long on a rush order unless you have a high-speed machine.
- Look for major gaps between elements—small letters in a tajima logo often need pull compensation that isn't applied correctly.
- Verify the color callouts match your thread stock. Pantone matching is great in theory, but if you don't have that specific thread in-house, you're adding 24 hours.
Step 2: Confirm Your Machine Can Handle the Job
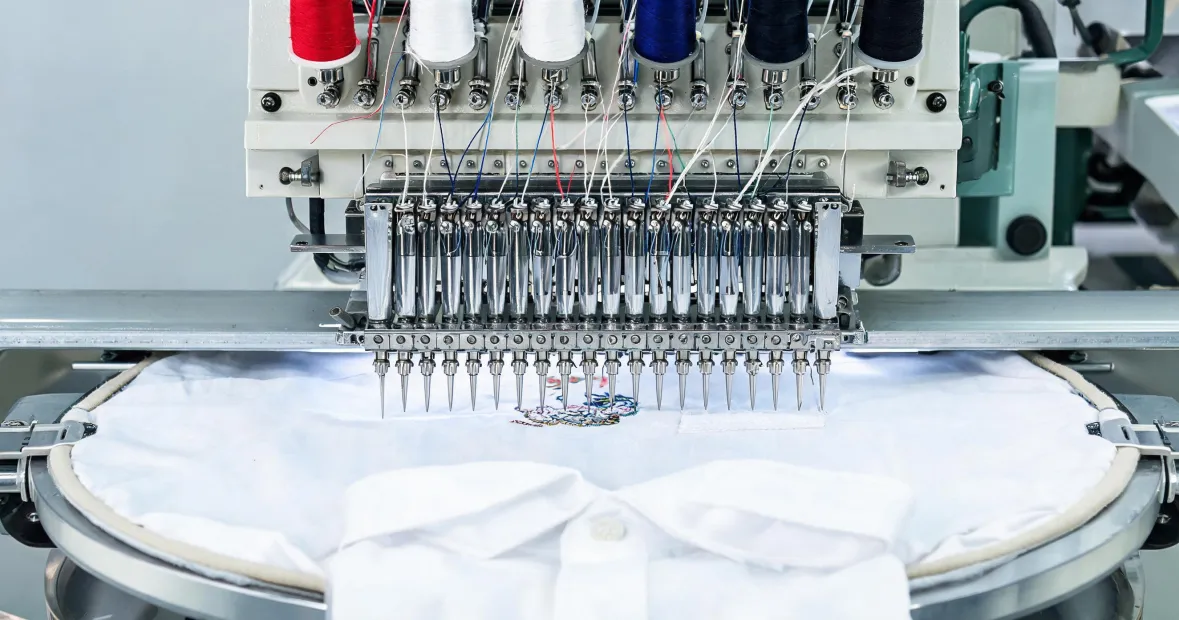
This sounds obvious. But I've seen a shop load a hat job onto a 12-head tajima embroidery machine designed for flatbed work. The machine could do it—barely—but the tension was off on three heads, and they had to scrap 60 pieces.
The mistake: assuming all heads are the same. They're not. Even with regular maintenance, older heads may have different tension readings.
Your actual checklist:
- Run a test stitch on each head you plan to use—even if it's a short pattern.
- Check the machine's tajima model for hooping capacity. A 12-head machine might handle 12 hoops at once, but if you're doing small logos, you can often fit multiple items per hoop.
- Are you using the right needle? For dense logos, use a DBxK5 needle—it prevents thread breaks in high-speed runs.
The tajima 12 head embroidery machine price is usually in the $40,000–$70,000 range, depending on new vs. refurbished. If you're buying one specifically for rush work, pay extra for the cooling system upgrade. It prevents overheating during long runs. Saved me on that 36-hour job in 2024.
Step 3: Cross-Check Your Thread and Fabric Compatibility
The most frustrating part of rush orders? The fabric shrinks or stretches after the first wash, and suddenly your tajima logo puckers. I didn't fully understand backing selection until I lost a $3,000 order because the polyester pique couldn't handle the density of the design.
Your actual checklist:
- For stretchy fabrics, use cutaway backing—tearaway will fail.
- For high-density designs (over 10,000 stitches), use a stabilizer that matches the fabric weight. If I remember correctly, a 2.5 oz cutaway works for most polo shirts.
- Check thread brand compatibility. Machines like Tajima and brother embroidery machine models have different tension ranges. You can't just swap thread brands without adjusting tension. I learned this when we switched to a cheaper supplier and every head started skipping.
Step 4: Price the Order Honestly (Including the Hidden Fees)
Most buyers focus on the machine's base cost or per-item embroidery fee. They completely miss setup charges, rush fees, and shipping that can add 30-50% to the total.
The question everyone asks is: “What's the best price for embroidery?” The question they should ask: “What's the total cost delivered, on my deadline?”
Your actual checklist:
- Base machine price: A tajima 12 head embroidery machine price might be $55,000, but add installation ($2,000–$4,000) and training ($1,000+).
- Software cost: Tajima's Pulse software isn't free—around $2,000–$5,000 depending on version.
- Rush fees: Budget 20-40% premium for same-week turnaround.
- Shipping: If you're comparing to a vendor using an aveneer embroidery machine or similar, get the total landed cost.
Step 5: Build in a Hard Deadline Buffer (The 24-Hour Rule)
In every rush order, something goes wrong. The thread color is wrong. The .DST file won't load. One of your 12 heads jams. Count on it.
Here's my rule: if the client needs the goods by Friday at 5 PM, I set my internal deadline for Thursday at 5 PM. The last 24 hours are for rework.
Your actual checklist:
- Add a 24-hour buffer to your internal schedule for every rush order.
- Tell the client the delivery date is one day earlier than necessary—they'll appreciate the “early” delivery.
- Have a backup plan for any single point of failure. If you're using a double needle sewing machine industrial for hems as well, make sure it's not on the same service schedule.
Common Mistakes to Avoid
Mistake 1: Skipping the Test Stitch
I've done it. Everyone has. “It's a simple logo, just run it.” Then you find out the tension is off after 100 pieces. Run a one-stitch test on each head. It takes 5 minutes and saves hours.
Mistake 2: Assuming All Machines Are the Same
A brother embroidery machine and a tajima 12 head embroidery machine price might seem comparable on paper, but they have different stitch capabilities. Brother machines are great for smaller jobs. Tajima machines are built for heavy industrial use. Choose accordingly.
Mistake 3: Ignoring Operator Training
I see shops buy a new aveneer embroidery machine or Tajima, then hand it to an untrained operator. The result: thread breaks, bobbin errors, and 20% scrap rates. Invest in the training—it pays for itself in the first rush order.
“In March 2024, we paid $400 extra for rush delivery on 1,200 polos. The alternative was missing a $15,000 event contract. Sometimes the certainty of paying more beats the risk of saving less.”
Final Thoughts
Rush orders are stressful because they expose every weak point in your workflow: old files, untested machines, unverified pricing. But if you follow these 5 steps—verify the logo, confirm the machine, double-check thread and fabric, price honestly, and build in a buffer—you can walk into any deadline with confidence.
So glad I learned these lessons through small mistakes rather than a $50,000 one. Almost skipped the test stitch on that March 2024 job. Would have cost me everything.

Leave a reply